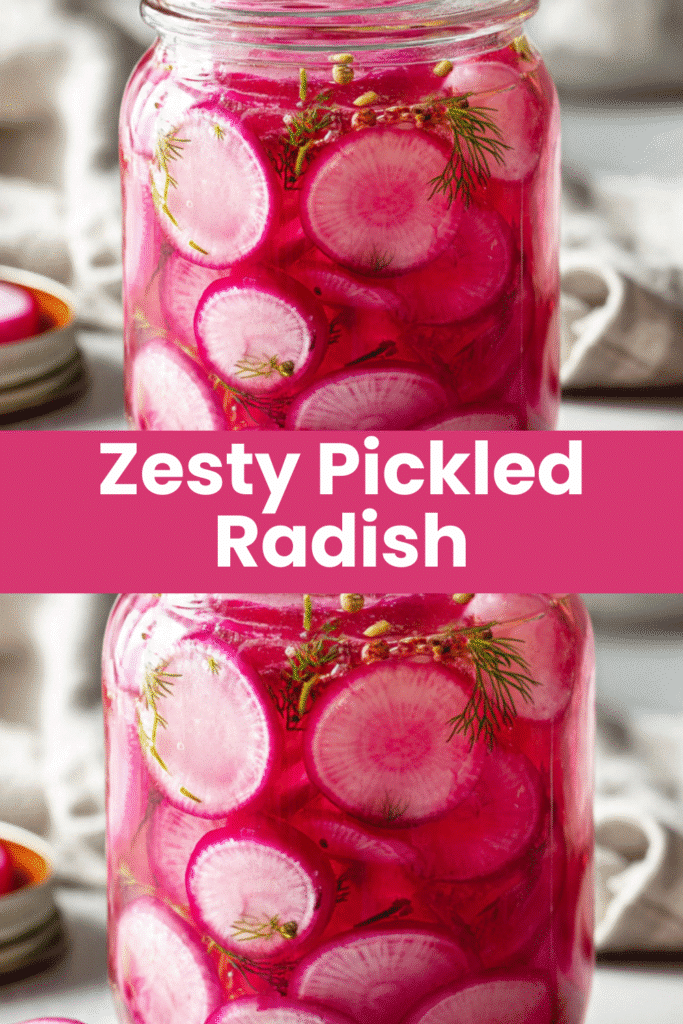
Pickled Radishes add vibrant color and tangy crunch to everything from tacos to salads. This sweet and spicy version balances heat with brightness, transforming humble radishes into a versatile condiment that elevates any meal. Ready in just 30 minutes but better after a day, these quick pickles are a game-changer for busy weeknight cooking and meal prep.
Why You’ll Love This Recipe
- Ready in 30 minutes, better after 24 hours
- Adds instant flavor and color to simple meals
- Lasts up to a month in the refrigerator
- Perfect balance of sweet, spicy, and tangy
- Budget-friendly way to use radishes
Equipment Needed
- Sharp knife or mandoline
- Cutting board
- Small saucepan
- Pint-sized mason jars with lids
- Measuring cups and spoons

Pickled Radishes
- Total Time: 30 minutes
Description
Pickled Radishes add vibrant color and tangy crunch to everything from tacos to salads. This sweet and spicy version balances heat with brightness, transforming humble radishes into a versatile condiment.
Ingredients
1 lb radishes, thinly sliced
1 cup white vinegar or apple cider vinegar
1 cup water
2 tablespoons sugar
1 tablespoon salt
1 teaspoon black peppercorns
1 teaspoon red pepper flakes
2 garlic cloves, smashed
Optional: 1 teaspoon cumin seeds or coriander seeds
Instructions
1. Wash and trim the ends from the radishes. Slice them thinly and uniformly, about 1/8 inch thick. A mandoline makes quick work of this but a sharp knife works too.
2. Divide the sliced radishes between clean mason jars. Add garlic cloves, peppercorns, red pepper flakes, and any optional spices to the jars. Pack snugly but don’t crush the radishes.
3. In a small saucepan, combine vinegar, water, sugar, and salt. Bring to a boil over medium-high heat, stirring until sugar and salt dissolve completely. Remove from heat immediately.
4. Carefully pour the hot brine over the radishes, filling jars to the top. Make sure all radishes are submerged. Tap jars gently to release air bubbles.
5. Let the jars cool to room temperature on the counter. Once cool, seal with lids and refrigerate. The pickles are ready after 30 minutes but taste best after 24 hours when flavors fully develop.
Notes
Use a mandoline for perfectly uniform slices.
Make sure radishes are fully submerged in brine.
Shake jars daily to redistribute spices and flavors.
Add a few slices of jalapeño for extra heat.
Choose firm, crisp radishes without soft spots or blemishes.
Try adding fresh herbs like cilantro, dill, or oregano to the jars.
Mix radishes with other vegetables like carrots, onions, or jalapeños.
For sweeter pickles, increase sugar to 3-4 tablespoons.
When stored in the refrigerator in sealed jars, pickled radishes keep for up to one month.
- Prep Time: 10 minutes
- Cook Time: 5 minutes
- Category: Condiments
- Method: Pickling
- Cuisine: Mexican
Nutrition
- Calories: 20
- Sugar: 3g
- Sodium: 360mg
- Fat: 0g
- Saturated Fat: 0g
- Unsaturated Fat: 0g
- Trans Fat: 0g
- Carbohydrates: 5g
- Fiber: 1g
- Protein: 0g
- Cholesterol: 0mg
Ingredients You’ll Need
- 1 lb radishes, thinly sliced
- 1 cup white vinegar or apple cider vinegar
- 1 cup water
- 2 tablespoons sugar
- 1 tablespoon salt
- 1 teaspoon black peppercorns
- 1 teaspoon red pepper flakes
- 2 garlic cloves, smashed
- Optional: 1 teaspoon cumin seeds or coriander seeds
Ingredient Notes
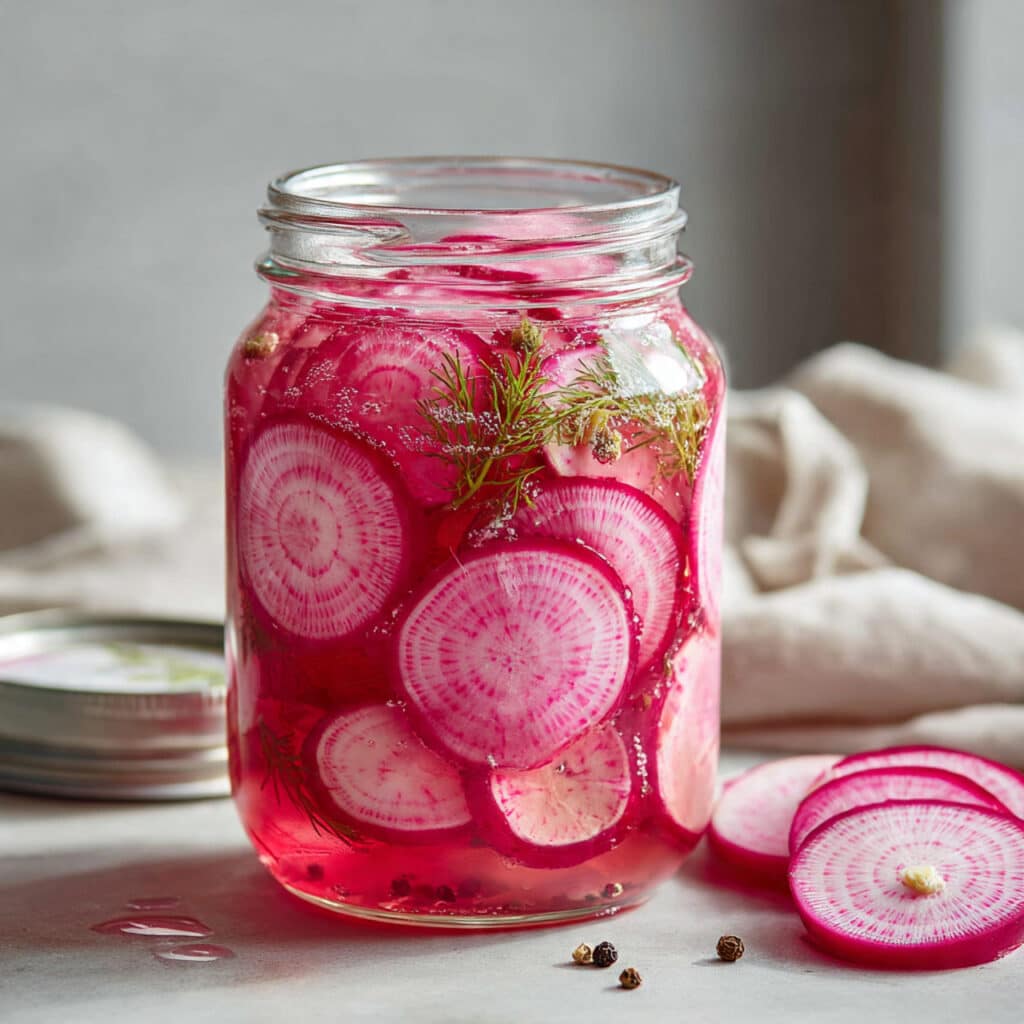
Choose firm, crisp radishes without soft spots or blemishes. Easter egg radishes create a gorgeous rainbow effect, but classic red radishes work beautifully too. Slice them uniformly for even pickling.
White vinegar gives clean, sharp acidity while apple cider vinegar adds subtle sweetness and depth. Either works great. The sugar balances the acidity and heat, creating a well-rounded flavor.
Red pepper flakes provide adjustable heat. Use less for mild pickles or more for serious spice. Fresh garlic adds aromatic depth that develops beautifully over time. Whole spices like cumin or coriander add complexity and make the pickles even more special.
Step-by-Step Instructions
Step 1: Prep the Radishes
Wash and trim the ends from the radishes. Slice them thinly and uniformly, about one-eighth inch thick. A mandoline makes quick work of this but a sharp knife works too.
Step 2: Pack the Jars
Divide the sliced radishes between clean mason jars. Add garlic cloves, peppercorns, red pepper flakes, and any optional spices to the jars. Pack snugly but don’t crush the radishes.
Step 3: Make the Brine
In a small saucepan, combine vinegar, water, sugar, and salt. Bring to a boil over medium-high heat, stirring until sugar and salt dissolve completely. Remove from heat immediately.
Step 4: Pour and Seal
Carefully pour the hot brine over the radishes, filling jars to the top. Make sure all radishes are submerged. Tap jars gently to release air bubbles.
Step 5: Cool and Refrigerate
Let the jars cool to room temperature on the counter. Once cool, seal with lids and refrigerate. The pickles are ready after 30 minutes but taste best after 24 hours when flavors fully develop.

Pro Tips & Cooking Hacks
- Use a mandoline for perfectly uniform slices
- Make sure radishes are fully submerged in brine
- Shake jars daily to redistribute spices and flavors
- Add a few slices of jalapeño for extra heat
- Save the brine to pickle more radishes or other vegetables
Tips & Variations
Try adding fresh herbs like cilantro, dill, or oregano to the jars. They infuse the brine with aromatic flavor and look beautiful in the jars.
Mix radishes with other vegetables like carrots, onions, or jalapeños for a pickled vegetable medley. Just make sure everything is sliced to similar thickness.
For sweeter pickles, increase sugar to 3 or 4 tablespoons. For more savory pickles, reduce sugar and add more garlic or whole spices like mustard seeds.
Serving Suggestions
These pickled radishes are essential for taco night. Pile them on fish tacos, carnitas, or carne asada for bright, crunchy contrast. They cut through rich meats beautifully.
Add them to sandwiches, burgers, and bánh mì for instant flavor and texture. They work especially well with pulled pork, grilled chicken, or fried fish.
Toss them into grain bowls, salads, or buddha bowls for a tangy punch. They add both visual appeal and flavor complexity to simple vegetarian meals.
Common Mistakes
- Slicing radishes too thick results in tough, under-pickled centers
- Not dissolving sugar and salt completely makes uneven seasoning
- Opening jars too soon prevents proper flavor development
- Leaving radishes above the brine causes spoilage
- Using old, soft radishes yields mushy pickles
What to Serve With Pickled Radishes
Pickled radishes are a must-have for Mexican-inspired meals. Serve them with tacos, quesadillas, enchiladas, or nachos where their brightness balances rich cheese and meat.
They’re perfect for Asian-inspired dishes too. Add them to ramen bowls, stir-fries, or rice bowls where their acidity cuts through savory, umami-rich flavors.
Include them on charcuterie boards alongside cured meats, cheeses, and olives. Their vibrant color and tangy flavor provide refreshing contrast to rich, fatty foods.
Frequently Asked Questions
How long do pickled radishes last?
When stored in the refrigerator in sealed jars, pickled radishes keep for up to one month. Make sure they stay submerged in brine.
Can I reuse the pickling brine?
It’s best to make fresh brine each time for food safety and optimal flavor. The brine loses strength and acidity after the first use.
Why did my pickles turn mushy?
Old or soft radishes become mushy when pickled. Always start with fresh, firm radishes. Slicing too thin also contributes to mushiness.
Can I pickle other vegetables the same way?
Absolutely. This brine works great for cucumbers, onions, carrots, jalapeños, or cauliflower. Adjust slicing thickness based on the vegetable.
Do I need to sterilize the jars?
Since these are refrigerator pickles, sterilization isn’t necessary. Just make sure jars are very clean and completely dry before packing.
💬 Tried this recipe? Leave a comment and rating below!