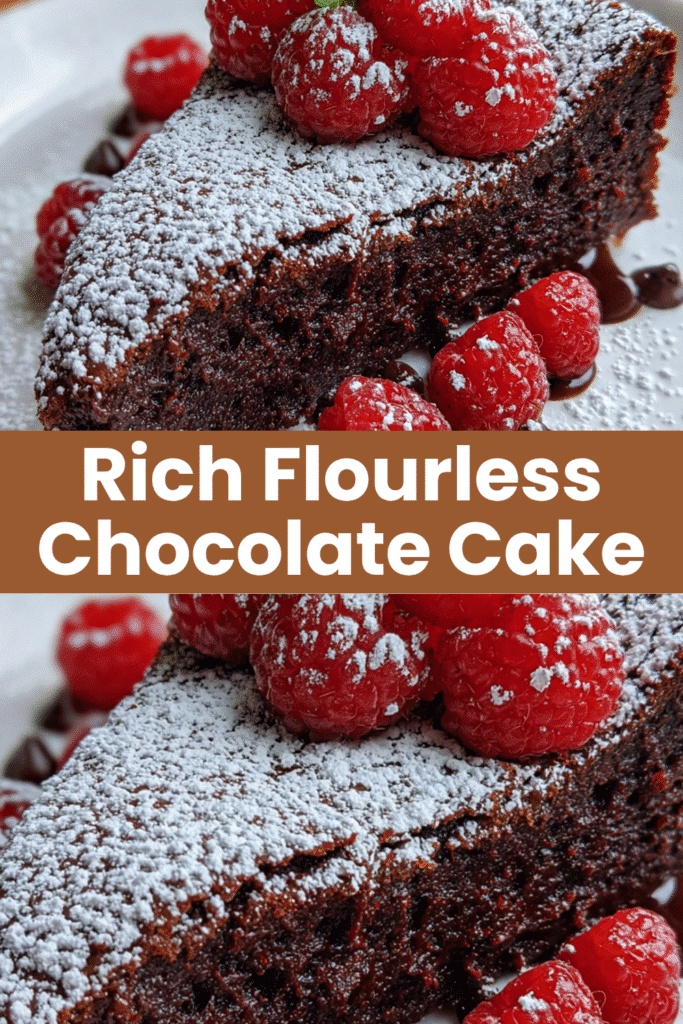
Flourless Chocolate Cake is a rich, fudgy dessert that delivers pure chocolate bliss without any flour. This gluten-free stunner takes less than 15 minutes of hands-on time and creates that restaurant-quality wow factor your family craves. Perfect for celebrations, date nights, or simply because you deserve something decadent on a Tuesday.
More Recipes? Try My Sour Cream Chocolate Cake or this Chocolate Coconut Cake with Chocolate Frosting next.
Why You’ll Love This Recipe
- Naturally gluten-free so everyone at the table can enjoy a slice
- Rich, fudgy texture that’s like a cross between brownies and chocolate mousse
- Only 7 main ingredients that you probably have on hand
- Makes ahead beautifully and actually tastes better the next day
- Impressive presentation that looks like you slaved away for hours
Equipment Needed
- 8-inch round cake pan (light colored, 3 inches deep)
- Parchment paper circles
- Large microwave-safe bowl or double boiler
- Whisk and rubber spatula
- Electric mixer or immersion blender with whisk attachment
- Instant-read thermometer
Flourless Chocolate Cake
- Total Time: 6 hours 45 minutes
- Yield: 8 servings 1x
- Diet: Gluten Free
Description
Rich, fudgy flourless chocolate cake delivers pure chocolate bliss without any flour. This gluten-free dessert takes less than 15 minutes of hands-on time.
Ingredients
1¼ cups semisweet chocolate chips
1 stick (8 tablespoons) unsalted butter
¾ cup granulated sugar
1 teaspoon instant espresso powder (optional)
¼ teaspoon fine sea salt
1 teaspoon vanilla extract
3 large eggs plus 1 egg yolk (room temperature)
½ cup Dutch-process cocoa powder
½ cup heavy cream (chilled)
Powdered sugar for dusting
Fresh berries for serving
Instructions
1. Preheat oven to 350°F and lightly grease an 8-inch round cake pan with cooking spray. Line the bottom with parchment and spray again.
2. Combine chocolate chips and butter in a large bowl. Microwave in 30-second bursts, stirring between each, until just melted and smooth. Let cool to room temperature.
3. Whisk sugar, espresso powder, salt, and vanilla into the cooled chocolate mixture until combined.
4. Add all eggs and the extra yolk at once. Whisk vigorously until the batter becomes smooth and glossy, about 30 seconds.
5. Sift cocoa powder over the batter and whisk gently until just combined.
6. Beat chilled heavy cream to medium peaks using an electric mixer. Stop when soft peaks form and hold their shape but still droop slightly.
7. Gently fold whipped cream into chocolate mixture with a rubber spatula, using broad strokes to keep the airiness.
8. Pour batter into prepared pan and bake 25-30 minutes until edges are set, center jiggles slightly, and internal temp reaches 200°F.
9. Let cake cool in the pan on a wire rack for 10 minutes, then loosen edges with an offset spatula. Cool completely, cover, and refrigerate at least 6 hours or overnight.
10. Use a hot, clean knife to cut slices. Run knife under hot water and wipe dry between each cut. Dust with powdered sugar and top with fresh berries.
Notes
Store covered in the fridge for up to 3 days.
Freeze wrapped tightly in plastic wrap and foil for up to 2 months.
The cake naturally deflates as it cools – this is normal.
Serve chilled for the fudgiest texture.
Use light-colored metal cake pans for even baking.
- Prep Time: 15 minutes
- Cook Time: 30 minutes
- Category: Dessert
- Method: Baking
- Cuisine: American
Nutrition
- Serving Size: 1 slice
- Calories: 385
- Sugar: 28g
- Sodium: 95mg
- Fat: 26g
- Saturated Fat: 15g
- Unsaturated Fat: 9g
- Trans Fat: 0g
- Carbohydrates: 35g
- Fiber: 3g
- Protein: 6g
- Cholesterol: 145mg
Ingredients You’ll Need
- 1¼ cups semisweet chocolate chips
- 1 stick unsalted butter
- ¾ cup granulated sugar
- 1 teaspoon instant espresso powder (optional)
- ¼ teaspoon fine sea salt
- 1 teaspoon vanilla extract
- 3 large eggs plus 1 egg yolk (room temperature)
- ½ cup Dutch-process cocoa powder
- ½ cup heavy cream (chilled)
- Powdered sugar for dusting
- Fresh berries for serving
Ingredient Notes
Quality chocolate makes all the difference here. Reach for Ghirardelli or another good brand of semisweet chips. The espresso powder is subtle but enhances the chocolate flavor without making it taste like coffee.
Room temperature eggs blend smoothly into the batter. Set them on the counter 30 minutes before you start. Dutch-process cocoa gives a deeper color and smoother flavor, but natural cocoa works in a pinch.
The chilled heavy cream gets whipped to medium peaks, adding airiness to the dense chocolate base. Don’t skip this step or your cake will be too heavy.
Step-by-Step Instructions
Step 1: Prep Your Pan
Preheat oven to 350°F and lightly grease your 8-inch pan with cooking spray. Line the bottom with parchment and spray again. This double insurance means your cake releases perfectly every time.
Step 2: Melt Chocolate and Butter
Combine chocolate chips and butter in a large bowl. Microwave in 30-second bursts, stirring between each, until just melted and smooth. Let this cool to room temperature so you don’t scramble the eggs later.
Step 3: Mix in Sugar and Flavorings
Whisk in sugar, espresso powder, salt, and vanilla until everything is combined. The mixture will look grainy at this point and that’s totally normal.
Step 4: Add Eggs
Add all eggs and the extra yolk at once. Whisk vigorously until the batter becomes smooth and glossy, about 30 seconds of good arm work.
Step 5: Fold in Cocoa
Sift cocoa powder over the batter and whisk gently until just combined. The batter will be thick and fudgy at this stage.
Step 6: Whip the Cream
Beat chilled heavy cream to medium peaks using an electric mixer. Stop when soft peaks form and hold their shape but still droop slightly. Overbeating makes stiff cream that won’t fold in smoothly.
Step 7: Fold and Bake
Gently fold whipped cream into chocolate mixture with a rubber spatula, using broad strokes to keep the airiness. Pour batter into prepared pan and bake 25-30 minutes until edges are set, center jiggles slightly, and internal temp reaches 200°F.
Step 8: Cool Completely
Let cake cool in the pan on a wire rack for 10 minutes, then loosen edges with an offset spatula. Cool completely, cover, and refrigerate at least 6 hours or overnight for the fudgiest texture.
Pro Tips & Cooking Hacks
- Use a hot, clean knife for perfect slices – run it under hot water and wipe dry between each cut
- Make parchment removal easier by using pre-cut circles with tabs
- The cake naturally deflates as it cools, creating a perfect well for whipped cream or ganache
- Check doneness with a thermometer instead of guessing – 200°F is your magic number
- Serve chilled for the fudgiest texture or room temp for something closer to mousse
Tips & Variations
Swap semisweet chips for bittersweet if you prefer a less sweet, more intense chocolate flavor. The cake will be slightly firmer but equally delicious.
Make it dairy-free by using coconut cream instead of heavy whipping cream. Chill a can of full-fat coconut milk overnight, scoop out the solid cream, and whip it the same way.
Add a tablespoon of orange zest to the batter for a sophisticated chocolate-orange version. Or fold in a handful of chopped toasted hazelnuts before baking for crunch.
Serving Suggestions
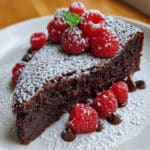
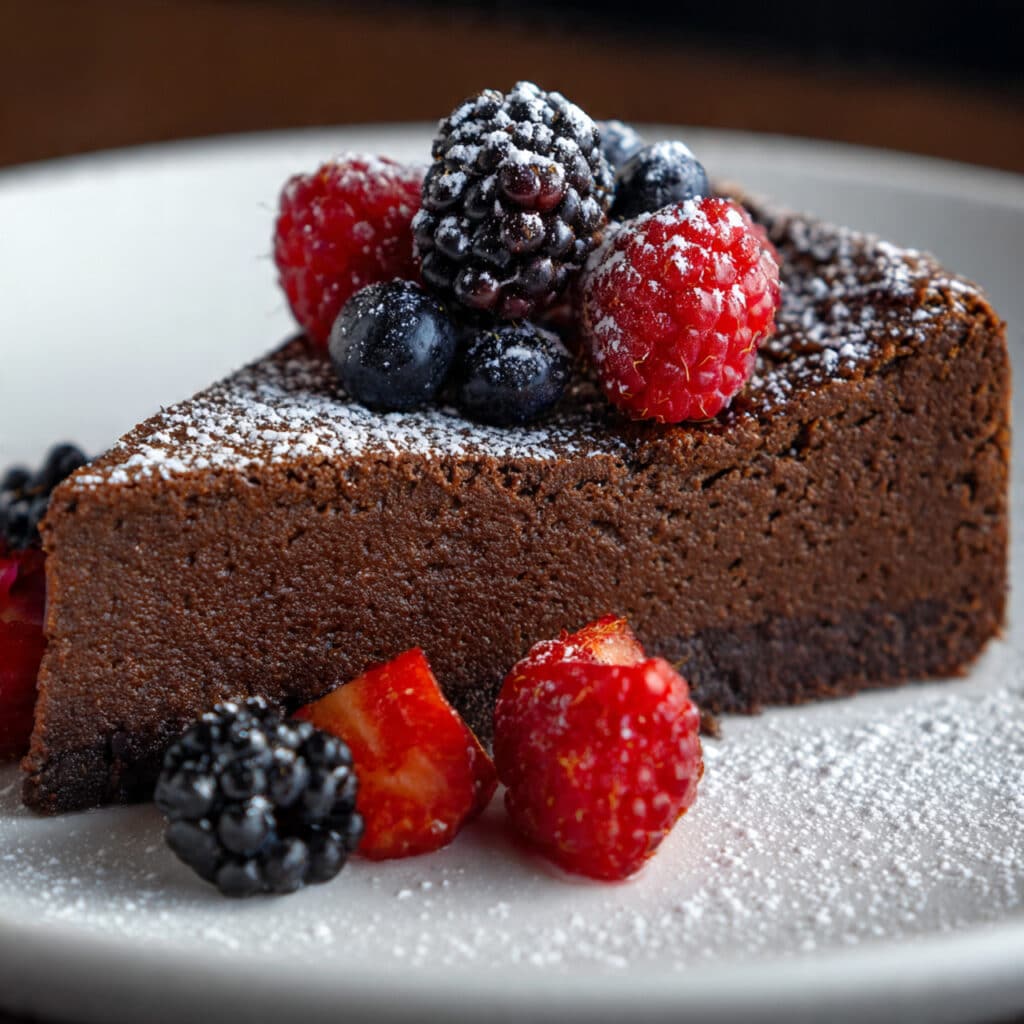
Dust with powdered sugar and top each slice with fresh raspberries or strawberries. The tartness of berries cuts through the richness beautifully.
Serve with a dollop of homemade whipped cream or a scoop of vanilla ice cream that melts into the warm cake. For special occasions, drizzle with raspberry sauce or pour chocolate ganache over the top.
Common Mistakes
- Overbaking creates a dry, crumbly texture – pull it when the center still jiggles slightly
- Adding eggs to hot chocolate scrambles them – always let chocolate cool first
- Overbeating the cream makes it grainy and hard to fold in – stop at soft peaks
- Using a dark nonstick pan causes over-browned edges – stick with light-colored metal
- Skipping the chill time means a gooey mess when you try to slice – patience pays off here

What to Serve With Flourless Chocolate Cake
This rich cake pairs perfectly with a simple green salad after dinner or alongside fresh fruit at a brunch spread. The intense chocolate flavor stands up well next to bold coffee or a glass of red wine.
For holidays, serve it as the centerpiece dessert with a variety of toppings set out buffet-style. Let guests customize their slices with berries, whipped cream, caramel sauce, or chopped nuts.
Frequently Asked Questions
Can I freeze flourless chocolate cake?
Yes! Wrap the whole cake or individual slices tightly in plastic wrap, then foil, and freeze up to 2 months. Thaw in the fridge overnight before serving.
Why did my cake crack on top?
Some cracking is normal as the cake cools and deflates. Overmixing or overbaking can cause excessive cracking, but it doesn’t affect the taste and gets covered with toppings anyway.
Can I make this in a different size pan?
Stick with an 8-inch pan for best results. A larger pan makes the cake too thin, and a smaller one means adjusting baking time which gets tricky.
Do I really need to chill it for 6 hours?
Yes, the chilling time lets the cake set up properly so it slices cleanly and develops that fudgy texture. Make it the day before your event for stress-free serving.
How do I know when it’s done baking?
The edges should be set and pulling away slightly from the pan, the center should jiggle just a bit when you shake the pan, and an instant-read thermometer inserted in the center should read at least 200°F.
💬 Tried this recipe? Leave a comment and rating below!