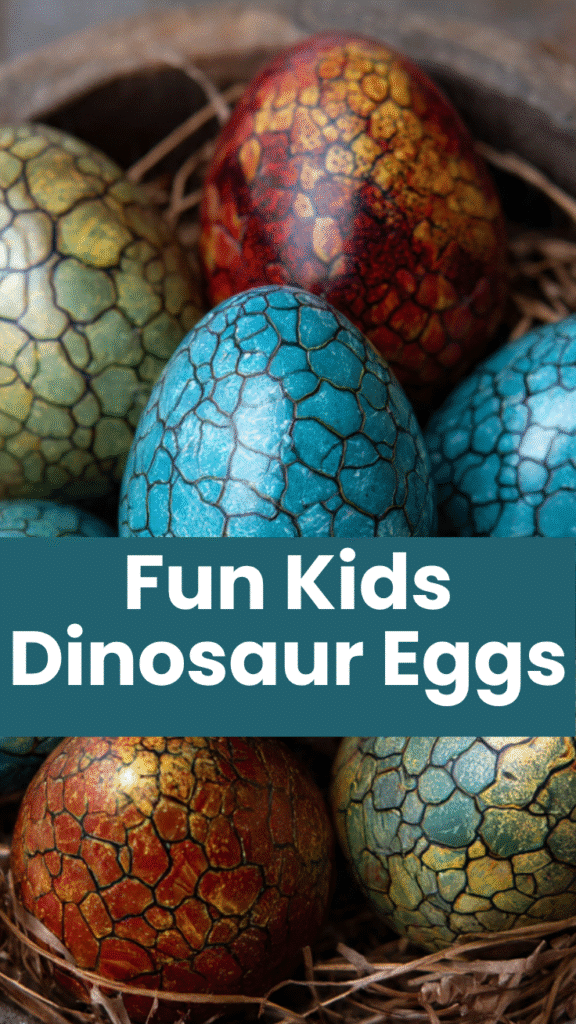
Chocolate Dinosaur Eggs combine cookies, cream cheese, and candy melts into adorable treats that kids absolutely flip over. Simple enough for kids to help make but impressive enough to wow party guests.
Why You’ll Love This Recipe
- No baking required makes this totally doable
- Kids can help with rolling and decorating
- Customizable colors for any dinosaur theme
- Makes 20-24 eggs perfect for parties
- Stores well for make-ahead convenience
Equipment Needed
- Food processor
- Mixing bowls
- Microwave-safe bowls
- Parchment paper
- Hard-bristled toothbrush
- Baking sheet

Chocolate Dinosaur Eggs
- Total Time: 45 minutes
- Diet: Vegetarian
Description
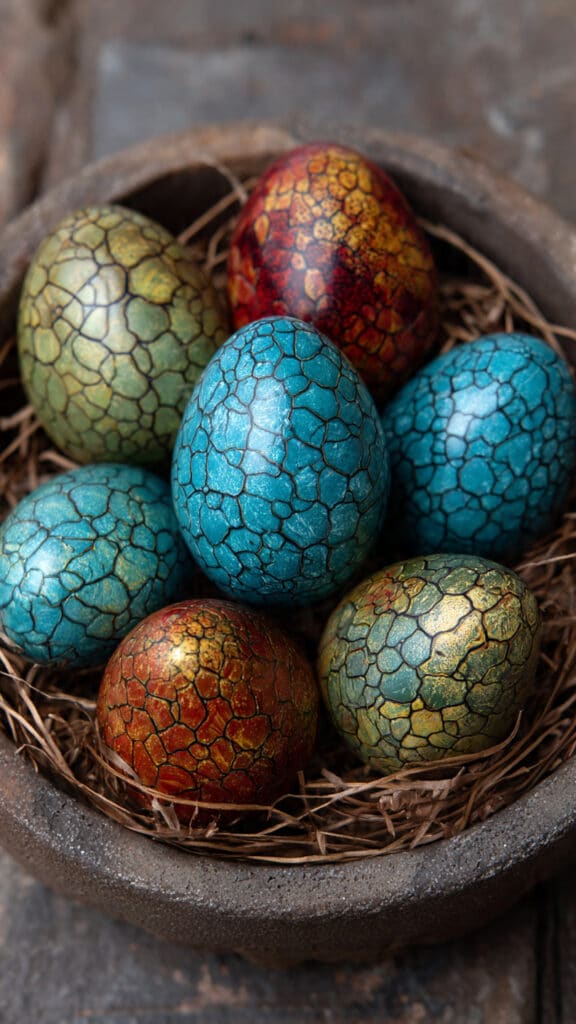
Create adorable chocolate dinosaur eggs with cookies, cream cheese, and candy melts. These no-bake treats look like realistic dino eggs with speckled shells. The Oreo truffle center stays creamy while candy coating provides satisfying crunch. Perfect for dinosaur parties or Easter baskets.
Ingredients
36 Oreo cookies (1 package)
8 oz cream cheese, softened
24 oz white candy melts
4 oz colored candy melts (brown, green, or blue)
1 teaspoon vegetable oil
Food coloring (optional)
Instructions
1. Pulse Oreo cookies in food processor until they become fine crumbs. Add softened cream cheese and pulse until mixture forms a ball.
2. Scoop 1-2 tablespoons mixture and roll into oval egg shapes between palms. Flatten slightly on two sides. Place on parchment-lined baking sheet and refrigerate 30 minutes.
3. Microwave white candy melts in 30-second intervals, stirring between each, until smooth. Add vegetable oil to thin if needed.
4. Drop chilled eggs into melted chocolate one at a time. Lift with fork, letting excess drip back. Place on clean parchment and let set 10 minutes.
5. Melt colored candy melts with ¼ teaspoon oil each. Dip toothbrush bristles in melted chocolate, run finger across bristles near eggs to create splatter. Refrigerate 5 minutes until speckles harden.
Notes
Regular Oreos work best. Double Stuf makes mixture too sweet. Use whole cookie including cream filling.
Softened cream cheese is crucial. Leave at room temperature 30 minutes or microwave 10 seconds at 50% power.
Candy melts coat smoother than chocolate chips. They melt evenly and set with nice snap.
Chill hands with ice water before rolling for easier shaping.
Practice splatter technique on parchment first before decorating eggs.
Make rainbow eggs using different colored base coats instead of white.
Hide surprise centers by pressing mini chocolate chips or sprinkles into mixture before rolling.
- Prep Time: 45 minutes
- Cook Time: 0 minutes
- Category: Dessert
- Method: No-Bake
- Cuisine: American
Nutrition
- Serving Size: 1 egg
- Calories: 165
- Sugar: 14g
- Sodium: 95mg
- Fat: 9g
- Saturated Fat: 4g
- Unsaturated Fat: 5g
- Trans Fat: 0g
- Carbohydrates: 20g
- Fiber: 1g
- Protein: 2g
- Cholesterol: 8mg
Ingredients You’ll Need
- 36 Oreo cookies (1 package)
- 8 oz cream cheese, softened
- 24 oz white candy melts
- 4 oz colored candy melts (brown, green, or blue)
- 1 teaspoon vegetable oil
- Food coloring (optional)
Ingredient Notes
Regular Oreos work best for authentic chocolate flavor. Double Stuf Oreos make the mixture too sweet and change the texture. Use the whole cookie including the cream filling for perfect consistency.
Softened cream cheese is crucial for smooth mixing. Leave it at room temperature for 30 minutes or microwave for 10 seconds at 50 percent power. Cold cream cheese creates lumps that won’t blend properly.
Candy melts coat smoother than regular chocolate chips. They melt evenly and set with a nice snap. Find them in the baking aisle in multiple colors for realistic dinosaur egg speckles.
Step-by-Step Instructions
Step 1: Make the Oreo Mixture
Pulse Oreo cookies in a food processor until they become fine crumbs with no large pieces. Add softened cream cheese and pulse until the mixture forms a ball and pulls away from the sides of the bowl.
Step 2: Shape the Eggs
Scoop 1-2 tablespoons of mixture and roll into oval egg shapes between your palms. Make them slightly flattened on two sides for authentic dinosaur egg appearance. Place on parchment-lined baking sheet and refrigerate 30 minutes until firm.
Step 3: Melt the White Coating
Microwave white candy melts in 30-second intervals, stirring between each, until completely smooth. Add a touch of vegetable oil to thin if needed for easier dipping and coating.
Step 4: Dip and Coat Eggs
Drop chilled eggs into melted white chocolate one at a time. Use a fork to lift out, letting excess chocolate drip back into the bowl. Place coated eggs on clean parchment paper to set for 10 minutes.
Step 5: Create Speckles
Melt colored candy melts with ¼ teaspoon oil for each color. Dip toothbrush bristles in melted chocolate, then run your finger across bristles near the eggs to create splatter effect. Refrigerate 5 minutes until speckles harden completely.
Pro Tips & Cooking Hacks
- Chill hands with ice water before rolling for easier shaping
- Use a cookie scoop for uniform egg sizes every time
- Practice the splatter technique on parchment first
- Work quickly when dipping so chocolate doesn’t harden
- Add tiny toy dinosaurs to display for extra cuteness
Tips & Variations
Make rainbow dinosaur eggs using different colored base coats instead of white. Pastel pink, blue, green, or purple create magical fantasy dino eggs. Speckle with contrasting colors for maximum visual impact at parties.
Hide surprise centers by pressing mini chocolate chips, sprinkles, or crushed candy into the Oreo mixture before rolling. Kids love discovering the hidden treasure when they bite in. Keep surprises small so eggs still hold together.
Create chocolate nests using chow mein noodles mixed with melted chocolate. Form into small nests, let set, then arrange dinosaur eggs inside. This makes an impressive centerpiece for birthday parties or Easter celebrations.
Serving Suggestions
Display eggs in small baskets filled with shredded paper grass or coconut flakes dyed green. Add plastic dinosaur figures around the nests for authentic prehistoric scene. Kids go crazy for the themed presentation at birthday parties.
Package individual eggs in clear cellophane bags tied with ribbon for party favors. Add a small dinosaur toy or sticker to each bag. These make perfect take-home treats that parents actually appreciate.
Common Mistakes
- Skipping the chilling step makes eggs too soft to dip properly
- Not adding oil to candy melts creates thick coating that’s hard to work with
- Splattering too close causes big blobs instead of speckles
- Using cold cream cheese creates lumpy mixture that won’t smooth out
- Making eggs too large makes them hard to eat in one or two bites
What to Serve With Chocolate Dinosaur Eggs
Create a complete dinosaur party spread with these eggs, dino-shaped sandwiches, and green Jello with gummy dinosaurs. Add volcano cake made from chocolate bundt cake with red frosting lava. Kids love the fully themed food experience.
Pair with other no-bake treats like rice crispy treats cut into dinosaur shapes or chocolate pudding dirt cups with gummy worms. Keep the menu simple so you can focus on decorations and activities instead of complicated cooking.
Frequently Asked Questions
How long do these eggs last?
Store in an airtight container in the refrigerator for up to 2 weeks. The candy coating protects the Oreo center from drying out or getting stale.
Can I freeze chocolate dinosaur eggs?
Yes, freeze for up to 3 months in freezer-safe containers. Thaw in the refrigerator overnight before serving. The texture stays perfect after freezing.
Can I use real chocolate instead of candy melts?
Candy melts work better because they set harder and don’t require tempering. Real chocolate needs tempering or it won’t set properly and can bloom.
Why did my coating crack?
The eggs were too cold when dipped. Let chilled eggs sit at room temperature for 5 minutes before coating to prevent temperature shock that causes cracking.
Can kids help make these?
Absolutely, kids love rolling the mixture and creating speckles. Adults should handle the food processor and melting chocolate while kids do the fun decorating parts.
💬 Tried this recipe? Leave a comment and rating below!