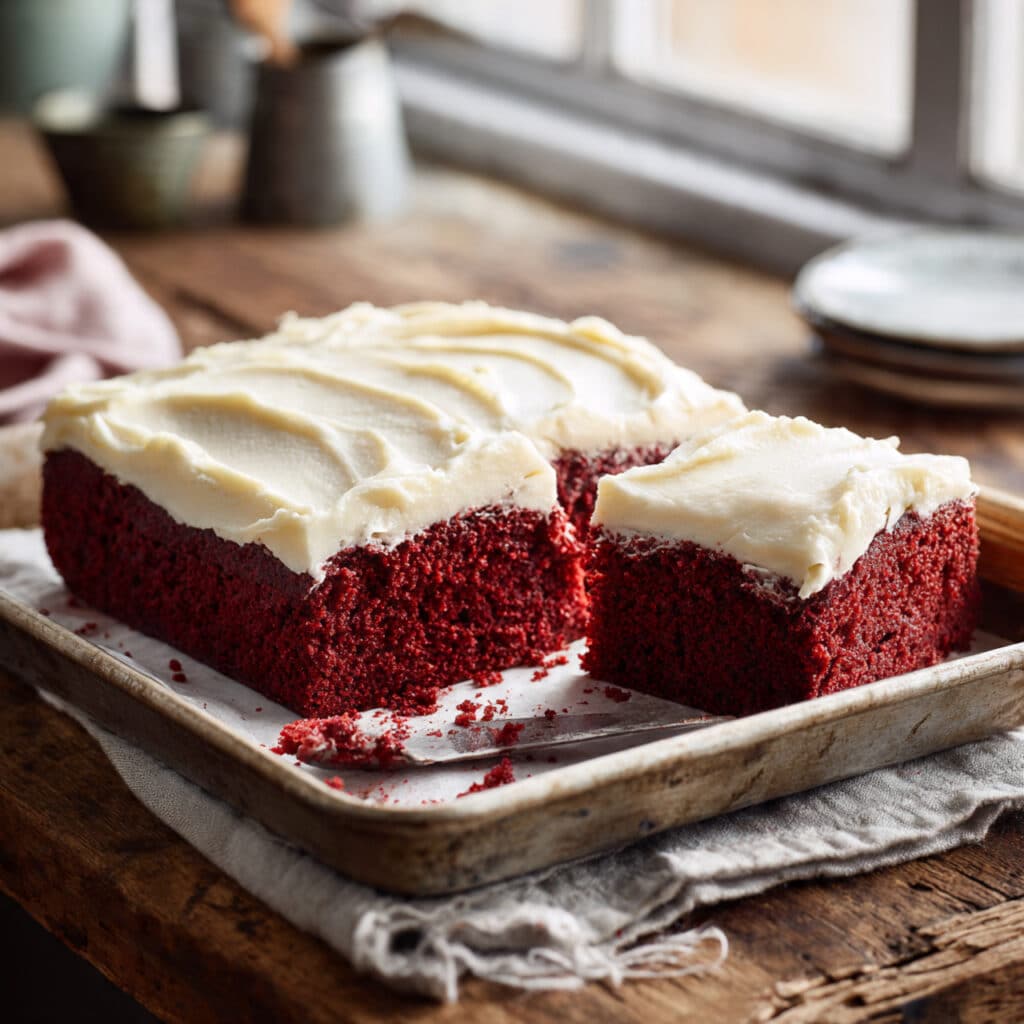
Easy Red Velvet Snack Cake with Cream Cheese Frosting is your answer to those times when you crave classic red velvet flavor without the hassle of making a multi-layer cake. This single-pan wonder delivers all the moist, tender crumb and subtle cocoa notes you love, topped with fluffy cream cheese frosting that’s absolutely divine.
Perfect for weeknight desserts, potlucks, or anytime you want to satisfy a sweet tooth without spending hours in the kitchen, this cake comes together quickly and disappears even faster. The beautiful red color makes it ideal for Valentine’s Day, Christmas, or birthday celebrations when you want something special but don’t need to feed a crowd.
Why You’ll Love This Recipe
- One simple pan means less cleanup and easier preparation
- Perfectly portioned for small families or gatherings
- Homemade flavor that beats boxed mixes every time
- Classic cream cheese frosting that’s smooth and tangy
- Ready in under an hour from start to finish
Equipment Needed
- 8×8 inch square baking pan
- Parchment paper
- Two medium mixing bowls
- Whisk
- Electric mixer or hand mixer
- Rubber spatula
- Wire cooling rack
- Offset spatula for frosting

Easy Red Velvet Snack Cake
- Total Time: 60
- Yield: 9 servings 1x
Description
Easy Red Velvet Snack Cake with Cream Cheese Frosting delivers classic red velvet flavor in simple 8×8 pan perfect for small gatherings. Moist, tender cake with hint of cocoa gets topped with tangy cream cheese frosting for irresistible treat ready in under an hour.
Ingredients
-
- 1¼ cups all-purpose flour
-
- ¾ cup granulated sugar
-
- ¼ tsp baking powder
-
- ½ tsp baking soda
-
- ¼ tsp salt
-
- 3 tbsp cocoa powder
-
- ½ cup vegetable oil
-
- ⅔ cup buttermilk
-
- 2 large eggs
-
- 1 tbsp red food coloring
-
- 1 tsp vanilla extract
-
- 1 tsp white vinegar
For the Cream Cheese Frosting:
-
- 6 oz cream cheese, softened
-
- ¼ cup unsalted butter, softened
-
- 1½ cups powdered sugar
-
- 1 tsp vanilla extract
Instructions
Preheat your oven to 350°F and prepare your 8×8 inch baking pan by lining it with parchment paper, leaving overhang on two sides for easy removal. Lightly grease the parchment and the exposed pan sides.
In your first mixing bowl, whisk together the flour, sugar, baking powder, baking soda, salt, and cocoa powder until everything is evenly distributed and no lumps remain.
In your second bowl, whisk together the vegetable oil, buttermilk, eggs, red food coloring, vanilla extract, and white vinegar until well combined and smooth. The mixture should be vibrant red with no streaks of egg visible.
Pour the wet ingredients into the dry ingredients and gently whisk just until combined – don’t overmix or your cake will be tough. Pour the batter into your prepared pan and spread evenly to the corners. Bake for 25-30 minutes until a toothpick inserted in the center comes out with just a few moist crumbs.
Let the cake cool in the pan for 10 minutes, then lift it out using the parchment overhang and transfer to a wire rack to cool completely. While it cools, make your frosting by beating the softened cream cheese and butter until fluffy, then gradually adding the powdered sugar and vanilla. Spread the frosting over the completely cooled cake in an even layer.
Notes
Bring eggs and buttermilk to room temperature for best texture – set out 30 minutes before baking.
Don’t skip the vinegar – it reacts with baking soda to create tender, light crumb. Use gel food coloring for vibrant red color without adding excess liquid. Make sure cream cheese and butter are fully softened for lump-free frosting.
Store frosted cake covered in refrigerator for up to 5 days. Bring to room temperature before serving. Cake can be frozen unfrosted for up to 3 months. Thaw and frost before serving. Double recipe and bake in 9×13 pan for larger crowd (bake 30-35 minutes).
Add chocolate chips to batter for extra indulgence.
- Prep Time: 15
- Cook Time: 30
- Category: Desserts
- Method: Baking
- Cuisine: American
Nutrition
- Serving Size: 1 square
- Calories: 295
- Sugar: 35g
- Sodium: 220mg
- Fat: 13g
- Saturated Fat: 5g
- Unsaturated Fat: 7g
- Trans Fat: 0g
- Carbohydrates: 43g
- Fiber: 1g
- Protein: 4g
- Cholesterol: 40mg
Ingredients You’ll Need
- 1¼ cups all-purpose flour
- ¾ cup granulated sugar
- ¼ tsp baking powder
- ½ tsp baking soda
- ¼ tsp salt
- 3 tbsp cocoa powder
- ½ cup vegetable oil
- ⅔ cup buttermilk
- 2 large eggs
- 1 tbsp red food coloring
- 1 tsp vanilla extract
- 1 tsp white vinegar
For the Cream Cheese Frosting:
- 6 oz cream cheese, softened
- ¼ cup unsalted butter, softened
- 1½ cups powdered sugar
- 1 tsp vanilla extract
Ingredient Notes
Buttermilk is essential for achieving that signature red velvet tang and tender crumb. If you don’t have buttermilk on hand, make a quick substitute by adding 2 teaspoons of lemon juice or white vinegar to ⅔ cup of regular milk and letting it sit for 5 minutes before using.
The combination of white vinegar and buttermilk creates the traditional red velvet flavor profile that sets this cake apart from regular chocolate cake. Don’t skip the vinegar – it reacts with the baking soda to help the cake rise and creates the perfect texture while adding that subtle tangy note.
Step-by-Step Instructions
Step 1: Prep and Preheat
Preheat your oven to 350°F and prepare your 8×8 inch baking pan by lining it with parchment paper, leaving overhang on two sides for easy removal. Lightly grease the parchment and the exposed pan sides.
Step 2: Combine Dry Ingredients
In your first mixing bowl, whisk together the flour, sugar, baking powder, baking soda, salt, and cocoa powder until everything is evenly distributed and no lumps remain.
Step 3: Mix Wet Ingredients
In your second bowl, whisk together the vegetable oil, buttermilk, eggs, red food coloring, vanilla extract, and white vinegar until well combined and smooth. The mixture should be vibrant red with no streaks of egg visible.
Step 4: Combine and Bake
Pour the wet ingredients into the dry ingredients and gently whisk just until combined – don’t overmix or your cake will be tough. Pour the batter into your prepared pan and spread evenly to the corners. Bake for 25-30 minutes until a toothpick inserted in the center comes out with just a few moist crumbs.
Step 5: Cool and Frost
Let the cake cool in the pan for 10 minutes, then lift it out using the parchment overhang and transfer to a wire rack to cool completely. While it cools, make your frosting by beating the softened cream cheese and butter until fluffy, then gradually adding the powdered sugar and vanilla. Spread the frosting over the completely cooled cake in an even layer.

Pro Tips & Cooking Hacks
- Bring eggs and buttermilk to room temperature for better mixing
- Don’t overbake – slightly underdone is better than dry
- Make sure cream cheese is truly softened for lump-free frosting
- Chill the frosted cake for 20 minutes before slicing for cleaner cuts
- Use gel food coloring for more vibrant color with less liquid
Tips & Variations
Store this cake covered in the refrigerator for up to 4 days. The cream cheese frosting requires refrigeration, but bring the cake to room temperature 30 minutes before serving for the best texture and flavor.
Try adding ½ cup of mini chocolate chips to the batter for extra richness, or swirl some raspberry preserves into the cream cheese frosting for a fruity twist. You can also bake this in a 9×9 inch pan for slightly thinner pieces with a shorter baking time of 22-25 minutes.
Serving Suggestions
This cake is wonderful on its own, but you can dress it up by garnishing with fresh raspberries or chocolate shavings on top. It pairs beautifully with a scoop of vanilla ice cream or a dollop of whipped cream. For a festive presentation, sprinkle with red and white nonpareils or heart-shaped sprinkles before the frosting sets.
Common Mistakes
- Overmixing the batter – leads to dense, tough cake
- Frosting while warm – causes frosting to melt and slide off
- Using cold cream cheese – creates lumpy frosting
- Skipping the parchment paper – makes removal difficult
- Not letting ingredients come to room temperature – affects texture
What to Serve With Easy Red Velvet Snack Cake
This cake is perfect alongside coffee or tea for an afternoon treat. For a complete dessert spread, serve it with strawberry shortcake, chocolate chip cookies, and fruit salad at your next gathering for a variety of flavors and textures.
Frequently Asked Questions
Can I make this cake ahead?
Yes! Bake the cake up to 2 days ahead, wrap tightly, and refrigerate. Frost the day you plan to serve it for best results.
What’s the difference between red velvet and chocolate cake?
Red velvet has much less cocoa powder and includes buttermilk and vinegar for a unique tangy flavor and tender crumb that chocolate cake doesn’t have.
Can I use natural cocoa powder?
Yes, but Dutch-process cocoa gives better color. Natural cocoa works fine and may produce a slightly darker red hue.
Why is my cake not bright red?
This depends on the type and amount of food coloring used. Gel colors are more concentrated and produce brighter results than liquid food coloring.
Can I freeze this cake?
Freeze the unfrosted cake wrapped tightly for up to 3 months. Thaw and frost before serving.
💬 Tried this recipe? Leave a comment and rating below!