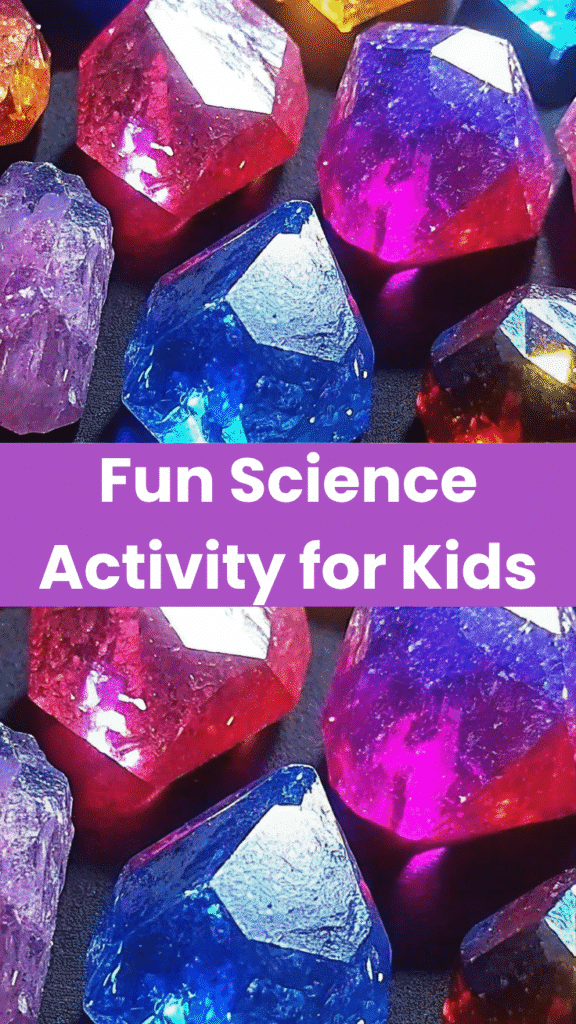
Baking Soda Treasure Rocks turn ordinary kitchen ingredients into explosive fun for kids of all ages. This simple science activity combines fizzy reactions with treasure hunting excitement, perfect for rainy afternoons, birthday parties, or homeschool science lessons. Kids love watching the rocks dissolve and discovering hidden treasures inside, while parents appreciate the budget-friendly materials and easy cleanup.
Why You’ll Love This Recipe
- Budget-friendly using common household items you already have
- Endless excitement as kids discover hidden treasures
- Educational STEM activity that teaches chemical reactions
- Keeps children engaged for hours with hands-on learning
- Perfect for groups at birthday parties or playdates
Equipment Needed
- Mixing bowl
- Measuring cups
- Spoon or spatula for mixing
- Muffin tin or ice cube tray
- Baking sheet for drying
- Spray bottle or dropper
- Plastic tray or container for fizzing

Baking Soda Treasure Rocks
- Total Time: 2 hours 15 minutes
- Yield: 12 rocks 1x
Description
Transform ordinary baking soda into explosive treasure rocks that fizz and dissolve in vinegar. Kids discover hidden toys while learning about chemical reactions. Perfect for rainy days, science lessons, or birthday party activities.
Ingredients
3 cups baking soda
1 cup water
Small waterproof toys or treasures (plastic gems, mini dinosaurs, coins)
2 cups white vinegar (for dissolving)
Food coloring (optional)
Glitter (optional)
Instructions
1. Combine baking soda and water in a large bowl, mixing until you get a thick, moldable paste that holds together like wet sand.
2. Press treasures into the center of handfuls of mixture, then shape into golf-ball sized rocks. Pack mixture tightly around each treasure.
3. Place rocks on a baking sheet and let dry completely for 24-48 hours, or speed up by placing in 200°F oven for 2 hours.
4. Set up a tray or bin with sides. Pour vinegar into spray bottles or small cups with droppers.
5. Place dried treasure rocks in the tray. Let kids spray or drip vinegar onto rocks and watch them fizz away, revealing hidden treasures inside.
Notes
Used baking soda from previous experiments works perfectly. Let it dry completely and it reacts just as well the second time.
Choose waterproof treasures only. Plastic toys, glass gems, metal coins, and rubber figures work best.
Add food coloring to create different colored rocks. Layer colors for rainbow surprise rocks.
Make extra rocks and freeze for future play sessions.
The vinegar-baking soda mixture washes away easily with water for simple cleanup.
- Prep Time: 15 minutes
- Cook Time: 2 hours
- Category: Kids Activity
- Method: No-Bake
- Cuisine: American
Nutrition
- Serving Size: 1 rock
Ingredients You’ll Need
- 3 cups baking soda
- 1 cup water
- Small toys or treasures (plastic gems, mini dinosaurs, coins)
- 2 cups white vinegar (for dissolving)
- Food coloring (optional)
- Glitter (optional)
Ingredient Notes
Used baking soda works perfectly for this project. If you’ve already done baking soda experiments, save the reacted baking soda, let it dry completely, and use it to make these treasure rocks. It reacts just as well the second time around.
Choose waterproof treasures that won’t dissolve in vinegar. Plastic toys, glass gems, metal coins, and small rubber figures work best. Avoid paper items, stickers, or anything that could break down when wet.
Add food coloring to make your rocks more exciting. Different colors can represent different “rock types” or make the fizzing reaction even more dramatic and colorful.
Step-by-Step Instructions
Step 1: Mix the Baking Soda Mixture
Combine baking soda and water in a large bowl, mixing until you get a thick, moldable paste. The mixture should hold together like wet sand when squeezed. Add water gradually to avoid making it too runny.
Step 2: Add Treasures and Shape Rocks
Press treasures into the center of handfuls of the mixture, then shape into rock formations. Pack the mixture tightly around each treasure so it won’t fall out during drying. Make rocks golf-ball sized for best results.
Step 3: Dry the Treasure Rocks
Place rocks on a baking sheet and let them dry completely for 24-48 hours. You can speed up the process by placing them in a 200°F oven for 2 hours, but air-drying works just fine if you have time.
Step 4: Prepare the Fizzing Station
Set up a tray or bin with sides to contain the fizzing action. Pour vinegar into spray bottles or small cups with droppers. Place dried treasure rocks in the tray and let kids start their excavation adventure.
Step 5: Dissolve and Discover
Let kids spray or drip vinegar onto the rocks and watch them fizz away. The chemical reaction creates bubbles and breaks down the baking soda, revealing the hidden treasures inside. This is the most exciting part for kids.
Pro Tips & Cooking Hacks
- Make extra rocks and freeze them for future play sessions
- Add essential oils like lemon or peppermint for a sensory twist
- Use different sized molds to create variety in rock shapes
- Layer colored baking soda for rainbow surprise rocks
- Save leftover reacted baking soda to make new rocks later
Tips & Variations
Create themed treasure rocks for holidays or special occasions. Use tiny pumpkins for Halloween, mini hearts for Valentine’s Day, or small dinosaurs for a prehistoric adventure. Kids love finding themed surprises.
Make learning rocks by hiding letter beads, number tiles, or sight word cards inside. This turns the activity into an educational game where kids practice reading or math while having fun.
Try different fizzing liquids like lemon juice or citric acid solution for varied reactions. Each creates slightly different fizzing patterns and speeds, adding variety to repeated play sessions.
Serving Suggestions
Set up an outdoor excavation site in the backyard with multiple rocks, brushes, and safety goggles for a full paleontologist experience. Kids can work together or compete to find the most treasures.
Pair with other baking soda experiments like volcano eruptions or fizzy paint for a full science party. Create stations where kids rotate through different activities throughout the event.
Common Mistakes
- Using too much water makes rocks that crumble – keep mixture thick and packable
- Not drying rocks completely leads to premature fizzing and disappointment
- Choosing treasures too large makes rocks that won’t hold together properly
- Forgetting to line the play area results in messy cleanup everywhere
- Making rocks too big wastes baking soda and takes forever to dissolve
What to Serve With Baking Soda Treasure Rocks
Combine with other sensory play activities like kinetic sand, water beads, or slime making for a full hands-on play day. Kids enjoy switching between different textures and experiences throughout the afternoon.
Create a science experiment buffet with color-mixing activities, static electricity demonstrations, and simple physics experiments. This keeps kids engaged and learning for hours while having a blast.
Frequently Asked Questions
Can I reuse the baking soda after it fizzes?
Yes, let the reacted baking soda dry completely and use it again to make new treasure rocks. It works just as well the second time around.
How long do the rocks take to dry?
Air drying takes 24-48 hours depending on humidity. Oven drying at 200°F takes about 2 hours for faster results.
What age is this activity appropriate for?
Kids aged 3 and up love this activity with adult supervision. Older kids can make the rocks themselves while younger ones enjoy the fizzing and discovering.
Can I make these without treasures inside?
Absolutely, plain fizzing rocks are still fun for younger kids who just enjoy the chemical reaction and sensory experience.
Is this messy to clean up?
The vinegar-baking soda mixture washes away easily with water. Do this activity in a tray or outdoors for easiest cleanup.
💬 Tried this recipe? Leave a comment and rating below!