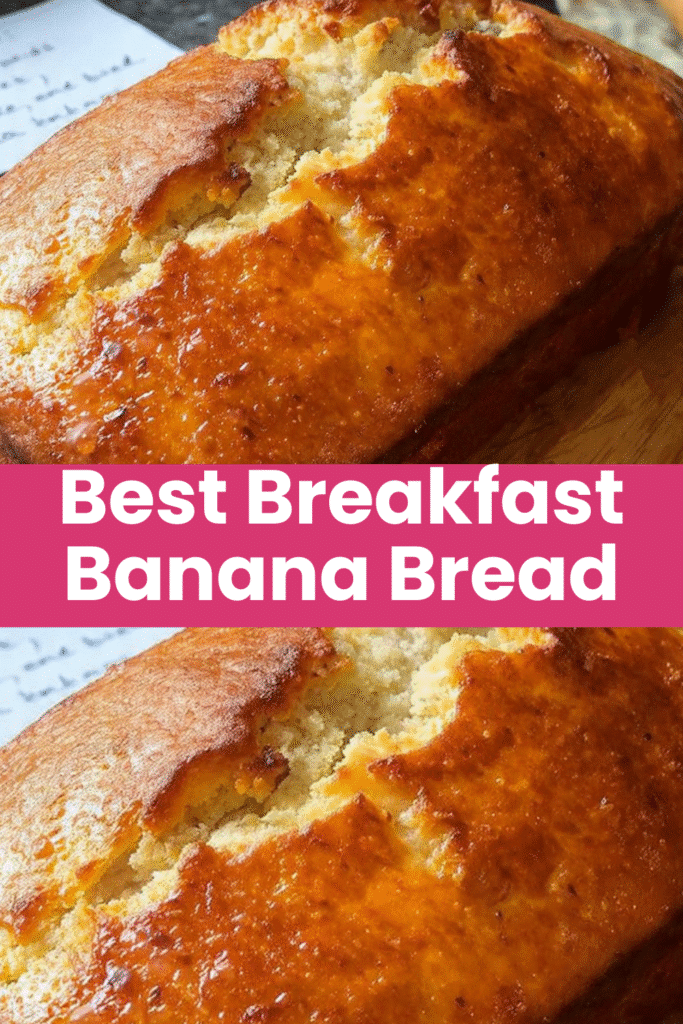
One Bowl Banana Bread is the ultimate lazy baker’s dream. No stand mixer, no multiple bowls, just one bowl and a fork to create the moistest, most flavorful banana bread you’ve ever tasted. The simple method means less cleanup and faster prep, so you can go from spotty bananas to a golden loaf in the oven in under 10 minutes. This recipe is perfect for busy weeknights when you need a quick breakfast solution, weekend brunch contributions, or a last-minute treat for unexpected guests.
Love More Recipes? Try My Peanut Butter and Jelly Banana Bread or this Healthy Pumpkin Banana Muffins next.
Why You’ll Love This Recipe
- Literally one bowl from start to finish—no stand mixer, no extra dishes, just a bowl and a fork
- Ready for the oven in 10 minutes with simple stirring and folding
- Incredibly moist texture that stays fresh for days without drying out
- Uses pantry staples you probably already have on hand
- Foolproof for beginners with straightforward steps that work every single time
Equipment Needed
- 9×5-inch loaf pan
- One large mixing bowl
- Fork (for mashing bananas)
- Whisk or wooden spoon
- Measuring cups and spoons
- Rubber spatula
- Cooling rack

One Bowl Banana Bread
- Total Time: 1 hour 10 minutes
- Diet: Vegetarian
Description
One Bowl Banana Bread is the ultimate lazy baker’s dream with no stand mixer, no multiple bowls, just one bowl and a fork to create the moistest banana bread.
Ingredients
3 very ripe bananas (about 1½ cups mashed)
⅓ cup melted butter
¾ cup granulated sugar
1 large egg, beaten
1 teaspoon vanilla extract
1 teaspoon baking soda
Pinch of salt
1½ cups all-purpose flour
½ teaspoon ground cinnamon (optional)
½ cup chopped walnuts or chocolate chips (optional)
Instructions
1. Preheat your oven to 350°F and grease your 9×5-inch loaf pan generously with butter or nonstick spray. Line the bottom with parchment paper.
2. Mash the bananas with a fork in your large mixing bowl until mostly smooth with a few lumps. Stir in the melted butter until well combined.
3. Add the sugar, beaten egg, and vanilla extract. Stir vigorously for about 30 seconds until well combined and slightly lighter in color.
4. Sprinkle the baking soda and salt directly over the wet mixture and stir them in thoroughly until the batter bubbles slightly.
5. Add all the flour and cinnamon at once. Gently fold with a rubber spatula until you barely see any dry flour streaks. Do not overmix.
6. Fold in nuts or chocolate chips if using with just 2-3 gentle strokes. Reserve a small handful to sprinkle on top.
7. Pour the batter into your prepared pan and smooth the top. Bake for 60-65 minutes, until a toothpick inserted in the center comes out with just a few moist crumbs.
8. Cool in the pan for 10-15 minutes, then turn out onto a cooling rack. Wait at least 30 minutes before slicing.
Notes
Store wrapped tightly in plastic wrap at room temperature for 4 days, refrigerate for a week, or freeze for 3 months.
Use the darkest, spottiest bananas you have for maximum sweetness and flavor.
Don’t open the oven door before 50 minutes or the center will collapse.
This bread tastes even better the next day once the flavors develop.
Measure flour by spooning it into the cup and leveling off for best results.
- Prep Time: 10 minutes
- Cook Time: 1 hour 5 minutes
- Category: Dessert, Breakfast
- Method: Baking
- Cuisine: American
Nutrition
- Serving Size: 1 slice
- Calories: 220
- Sugar: 16g
- Sodium: 180mg
- Fat: 7g
- Saturated Fat: 4g
- Unsaturated Fat: 2g
- Trans Fat: 0g
- Carbohydrates: 37g
- Fiber: 2g
- Protein: 3g
- Cholesterol: 30mg
Ingredients You’ll Need
- 3 very ripe bananas (about 1½ cups mashed)
- ⅓ cup melted butter
- ¾ cup granulated sugar
- 1 large egg, beaten
- 1 teaspoon vanilla extract
- 1 teaspoon baking soda
- Pinch of salt
- 1½ cups all-purpose flour
- ½ teaspoon ground cinnamon (optional)
- ½ cup chopped walnuts or chocolate chips (optional)
Ingredient Notes
Bananas: The darker and spottier your bananas, the sweeter and more flavorful your bread will be. Those black-spotted bananas you’re about to throw away are actually perfect for this recipe. If you’re in a rush, you can ripen bananas quickly by baking them (unpeeled) at 300°F for 15 minutes until the skins turn completely black.
Butter: Melted butter keeps this a true one-bowl recipe since you don’t need to cream anything. Use unsalted butter so you control the salt level, and let it cool slightly after melting so it doesn’t scramble your egg.
Sugar: Regular white granulated sugar works perfectly, but you can substitute up to half with brown sugar for a deeper, caramel-like flavor. Light or dark brown sugar both work—dark just adds more molasses notes.
Flour: All-purpose flour is ideal for that tender crumb. Don’t use bread flour (too chewy) or cake flour (too delicate). Spoon the flour into your measuring cup and level it off with a knife for the most accurate measurement.
Step-by-Step Instructions
Step 1: Prep and Preheat
Preheat your oven to 350°F and grease your 9×5-inch loaf pan generously with butter or nonstick spray. Line the bottom with a strip of parchment paper for easy removal later—this takes 20 seconds and saves you from a stuck loaf disaster.
Step 2: Mash Your Bananas
In your large mixing bowl, mash the bananas with a fork until mostly smooth with just a few small lumps remaining. Stir in the melted butter and mix until well combined—the mixture might look slightly separated, but that’s perfectly normal and will come together.
Step 3: Add Sugar and Egg
Add the sugar, beaten egg, and vanilla extract to the banana mixture. Stir vigorously with a whisk or wooden spoon for about 30 seconds until everything is well combined and the mixture looks slightly lighter in color.
Step 4: Mix in Baking Soda and Salt
Sprinkle the baking soda and salt directly over the wet mixture and stir them in thoroughly. You’ll notice the batter might bubble slightly—that’s the baking soda activating, which is exactly what you want for a light, fluffy loaf.
Step 5: Fold in Flour
Add all the flour (and cinnamon if using) at once to the bowl. Gently fold with a rubber spatula using broad strokes until you barely see any dry flour streaks—stop mixing the moment it comes together. Overmixing creates tough, dense bread, so restraint is your friend here.
Step 6: Add Optional Mix-Ins
If you’re using nuts or chocolate chips, fold them in now with just 2-3 gentle strokes. Reserve a small handful to sprinkle on top of the batter for a bakery-style presentation that looks way more impressive than the effort required.
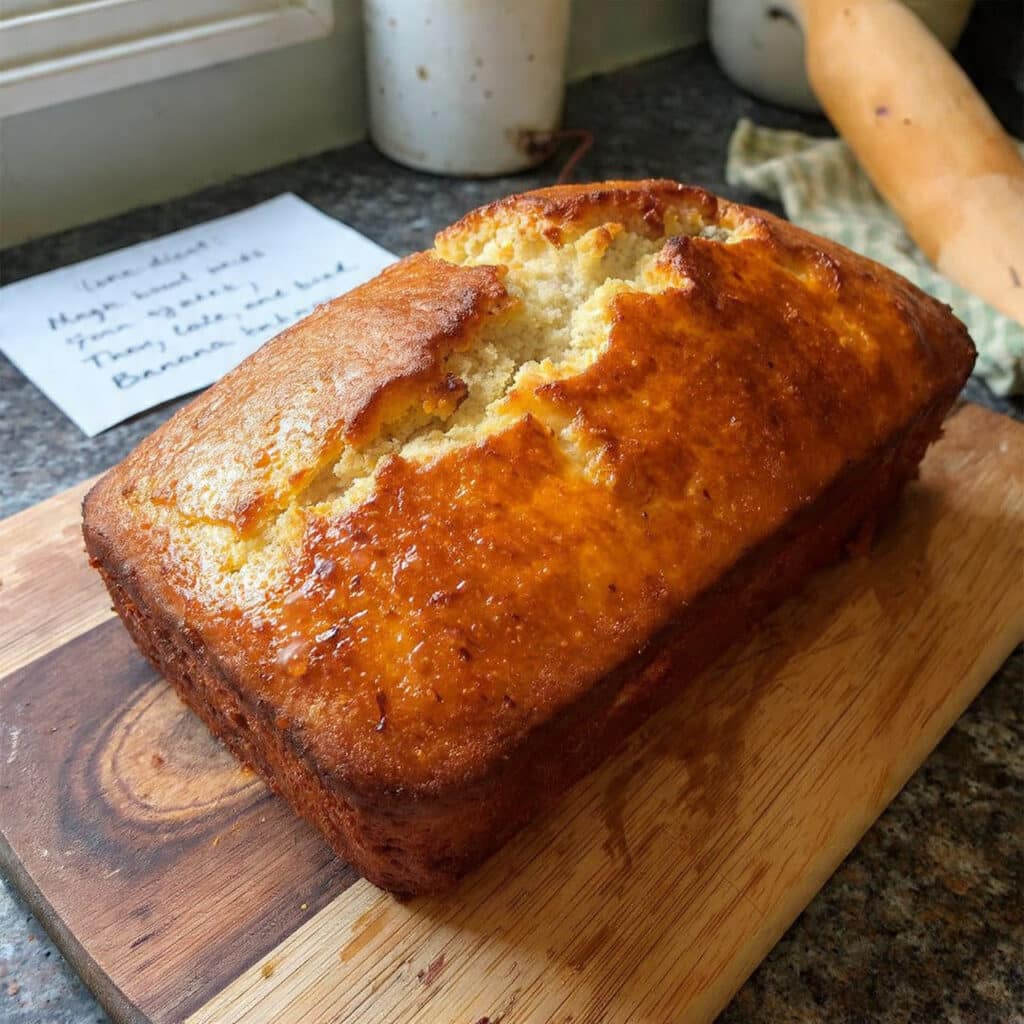
Step 7: Bake to Perfection
Pour the batter into your prepared pan and smooth the top gently. Bake for 60-65 minutes, until the top is deeply golden brown and a toothpick inserted in the center comes out with just a few moist crumbs attached (not wet batter).
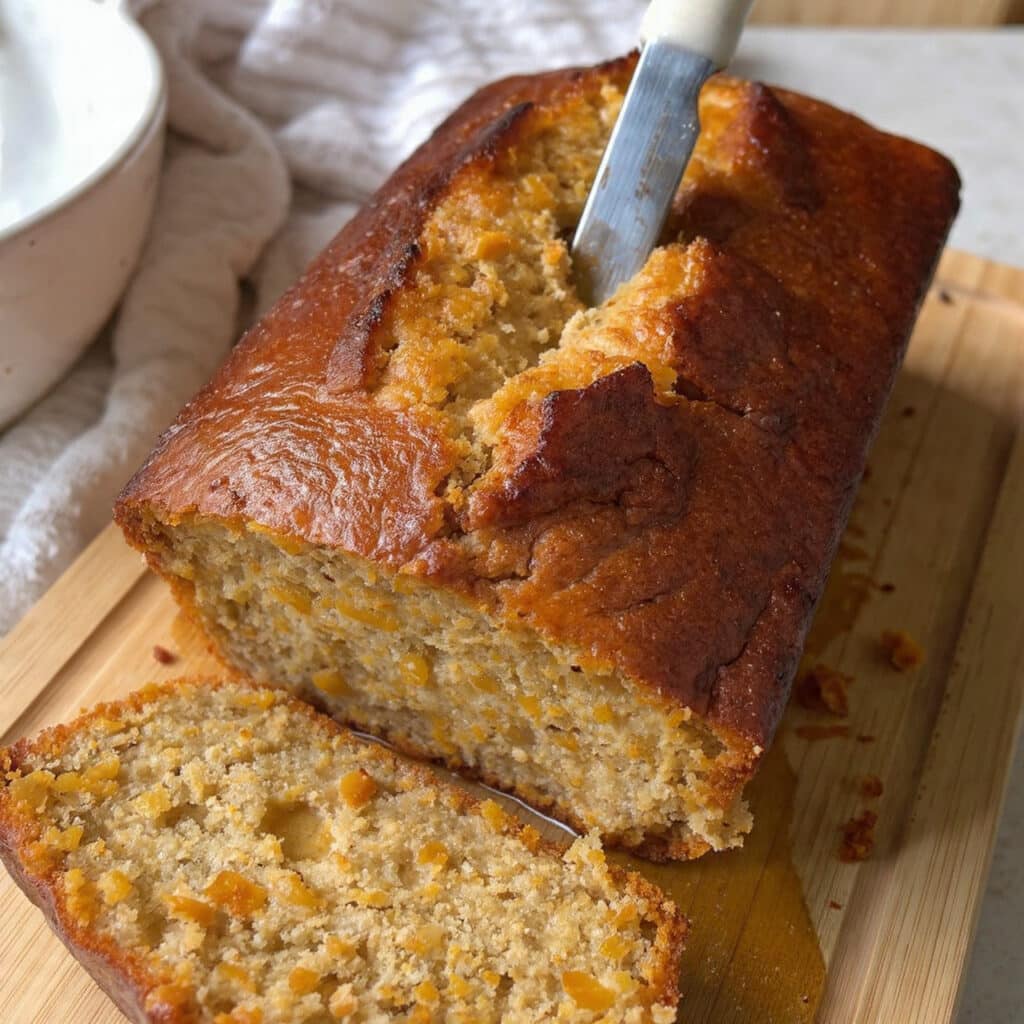
Step 8: Cool Properly
Let the bread cool in the pan on a cooling rack for 10-15 minutes, then carefully turn it out onto the rack to cool completely. Wait at least 30 minutes before slicing or the interior will be gummy and fall apart—patience makes perfect slices.
Pro Tips & Cooking Hacks
- Measure flour correctly by spooning it into the cup and leveling off—scooping directly from the bag packs too much flour and creates dry bread
- Don’t peek before 50 minutes or the center will collapse from the temperature drop
- Test in multiple spots with your toothpick since ovens have hot spots and the edges bake faster
- Cool completely before storing to prevent condensation and sogginess in your storage container
- Double the recipe easily since you’re already making a mess—bake two loaves and freeze one for later
Tips & Variations
Chocolate Chip Version: Fold in ¾ cup semi-sweet chocolate chips for a dessert-worthy twist that kids go crazy for. Mini chocolate chips distribute more evenly than regular-sized ones and give you chocolate in every bite.
Healthier Swap: Replace up to half the all-purpose flour with whole wheat flour and cut the sugar to ½ cup. The banana provides plenty of natural sweetness, and the whole wheat adds nutty depth without making it taste “healthy.”
Peanut Butter Banana: Swirl 3 tablespoons of peanut butter through the batter before baking for a protein boost and irresistible flavor combo. Use a knife to create swirls—don’t fully mix it in or you’ll lose the marbled effect.
Make-Ahead Magic: Wrap cooled bread tightly in plastic wrap and store at room temperature for 4 days, refrigerate for a week, or freeze for 3 months. Frozen slices defrost in minutes at room temperature or 15 seconds in the microwave.
Serving Suggestions
Serve warm slices with salted butter melting into every bite for the ultimate comfort food breakfast or snack. Pair it with scrambled eggs and fresh fruit for a complete brunch spread that looks way more impressive than the minimal effort required.
Toast day-old slices in a skillet with butter until crispy on the outside and warm in the middle—it transforms leftovers into something that tastes freshly baked. Spread with cream cheese, peanut butter, or Nutella for an after-school snack that actually gets eaten.
For dessert, warm a slice for 20 seconds in the microwave and top with vanilla ice cream and a drizzle of caramel or chocolate sauce. It’s a five-minute dessert that guests will think you spent an hour preparing.
Common Mistakes
- Using firm bananas → Results in bland, dry bread. Wait for those peels to be covered in black spots!
- Overmixing after adding flour → Creates dense, tough bread with tunnels. Mix just until the flour disappears.
- Opening the oven door early → Causes the center to sink. Keep it closed until at least 50 minutes.
- Slicing while hot → Makes gummy, messy slices that fall apart. Cool for at least 30 minutes first.
- Forgetting to grease the pan → Loaf sticks and tears when removing. Don’t skip this step!
What to Serve With One Bowl Banana Bread
This banana bread is a breakfast MVP alongside hot coffee, crispy bacon, and a fresh fruit salad. The sweet, tender slices balance savory breakfast items perfectly, and since it stays moist for days, you can make it Sunday night and enjoy it all week long without any special storage tricks.
For brunch gatherings, serve it on a wooden cutting board with softened butter, honey, and assorted jams so guests can customize their slices. It’s casual enough for a lazy Saturday morning but impressive enough for company, especially when you mention it only took one bowl to make.
Pack thick slices in lunchboxes with cheese cubes and apple slices for a balanced snack that kids actually eat. It also makes an excellent post-workout snack with a protein shake since the natural banana sugars provide quick energy without being overly sweet or heavy.
Frequently Asked Questions
Can I use frozen bananas?
Yes, thaw them completely and drain excess liquid before mashing. Frozen bananas tend to be extra watery, so squeeze out the excess moisture or your batter will be too thin and take longer to bake.
Why is my banana bread dense and heavy?
This usually happens from overmixing the batter after adding the flour, which develops too much gluten. Mix just until you don’t see dry flour, even if the batter looks lumpy—those lumps will bake out.
Can I make this into muffins instead?
Absolutely—divide the batter among 12 greased muffin cups and bake at 350°F for 18-22 minutes. Muffins bake faster and are perfect for grab-and-go breakfasts or portion control.
How do I know when it’s done baking?
A toothpick inserted in the center should come out with a few moist crumbs, not wet batter. The top should be deeply golden and spring back when lightly pressed with your finger.
Can I reduce the sugar?
You can reduce it to ½ cup and still get good results since the bananas provide natural sweetness. Any less than that and the bread will taste bland and won’t brown as nicely on top.
💬 Tried this recipe? Leave a comment and rating below!