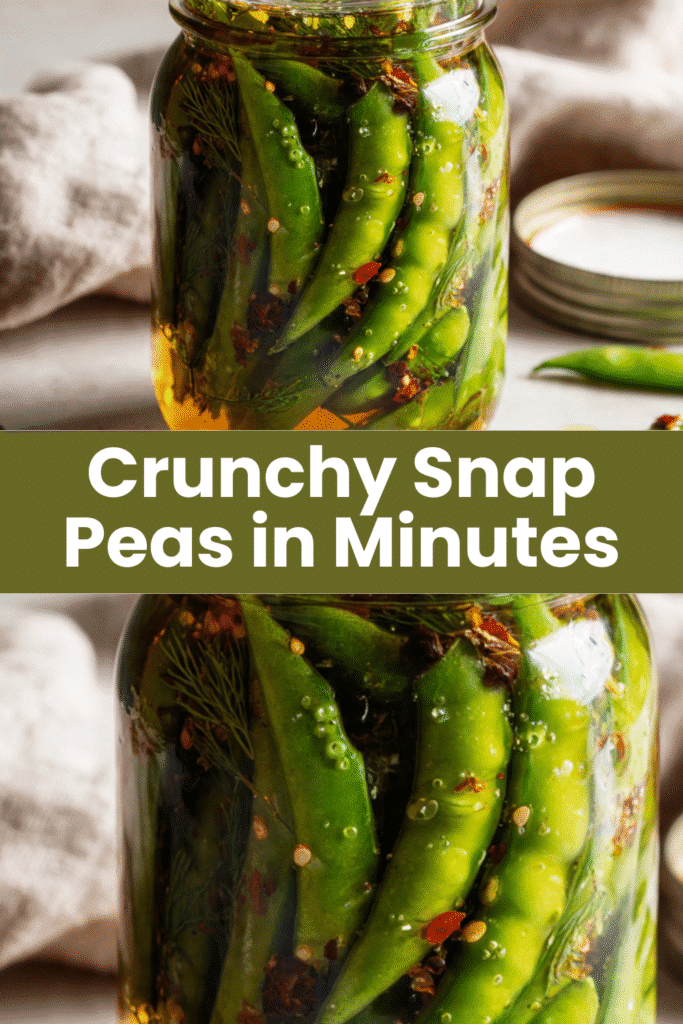
Snap Pea Pickles bring crisp, tangy crunch to your meals with minimal effort. These refrigerator pickles capture the fresh sweetness of sugar snap peas in a simple brine loaded with garlic, dill, and warming spices. Perfect for meal prep, snacking, or adding to charcuterie boards, these pickles are ready in just 24 hours and last for weeks in your fridge.
Why You’ll Love This Recipe
- No canning equipment or experience needed
- Ready to eat in 24 hours, lasts up to two months
- Preserves peak-season snap peas for year-round enjoyment
- Tangy and crunchy, perfect for snacking or salads
- Customizable with your favorite herbs and spices
Equipment Needed
- 1-quart glass jar with lid
- Small pot
- Measuring cups and spoons
- Fine mesh sieve
- Cutting board
Snap Pea Pickles
- Total Time: 24 hours 15 minutes
Description
Snap Pea Pickles bring crisp, tangy crunch to your meals with minimal effort. These refrigerator pickles capture the fresh sweetness of sugar snap peas in a simple brine loaded with garlic, dill, and warming spices.
Ingredients
- Sugar snap peas (enough to fill a 1-quart jar), ends trimmed
- 3–4 small sprigs fresh dill
- 1 star anise
- 1/4 teaspoon white peppercorns
- 1/4 teaspoon mustard seeds
- 2 cloves garlic, peeled
- 4 cups water, divided
- 2 cups white vinegar
- 3 tablespoons salt
- Optional: 1 dried red chile pepper or pinch of chile flakes
Instructions
1. Wash the snap peas thoroughly. Snap off the stem ends and pull away any strings running along the seams. Pat dry with a clean kitchen towel.
2. Layer the snap peas in a clean quart jar along with dill sprigs, star anise, peppercorns, mustard seeds, and garlic cloves. Pack them snugly but don’t crush them.
3. In a small pot, combine 2 cups water, white vinegar, and salt. Heat over medium-high heat, stirring until salt dissolves completely. Remove from heat and stir in 2 cups cold water to cool the brine quickly.
4. Pour the brine over the snap peas, covering them completely. Leave about half an inch of headspace at the top. Seal the jar tightly with the lid.
5. Place the jar in the refrigerator and let it sit for at least 24 hours before eating. The flavor develops and intensifies over the first few days.
Notes
Use room temperature jars to prevent cracking from hot brine.
Add the cold water to the brine to speed up cooling time.
Taste the brine before pouring – it should be noticeably salty and tangy.
Shake the jar gently every day to redistribute the spices.
Keep snap peas submerged in brine for best preservation.
Add a dried red chile or chile flakes for a spicy kick.
Experiment with other aromatics like fresh ginger slices, coriander seeds, or whole cloves.
For sweeter pickles, add 1-2 tablespoons of sugar to the brine.
When stored properly in the refrigerator, these pickles keep for up to two months.
- Prep Time: 10 minutes
- Cook Time: 5 minutes
- Category: Condiments
- Method: Pickling
- Cuisine: American
Nutrition
- Calories: 15
- Sugar: 1g
- Sodium: 450mg
- Fat: 0g
- Saturated Fat: 0g
- Unsaturated Fat: 0g
- Trans Fat: 0g
- Carbohydrates: 3g
- Fiber: 1g
- Protein: 1g
- Cholesterol: 0mg
Ingredients You’ll Need
- Sugar snap peas enough to fill a 1-quart jar, ends trimmed
- 3 to 4 small sprigs fresh dill
- 1 star anise
- ¼ teaspoon white peppercorns
- ¼ teaspoon mustard seeds
- 2 cloves garlic, peeled
- 4 cups water, divided
- 2 cups white vinegar
- 3 tablespoons salt
- Optional: 1 dried red chile pepper or pinch of chile flakes
Ingredient Notes
Choose firm, bright green snap peas without blemishes. Remove the stringy ends by snapping off the stem end and pulling the string down the pod. Fresh peas give the best crunch.
White vinegar provides clean, sharp acidity without adding color. Apple cider vinegar works too but gives a slightly different flavor. The salt preserves the pickles and enhances flavor, so don’t reduce it.
Fresh dill is essential here. Dried dill doesn’t deliver the same bright, herbal punch. Star anise adds subtle sweetness and complexity. If you don’t have it, a small cinnamon stick works as a substitute.
Step-by-Step Instructions
Step 1: Prep the Snap Peas
Wash the snap peas thoroughly. Snap off the stem ends and pull away any strings running along the seams. Pat dry with a clean kitchen towel.
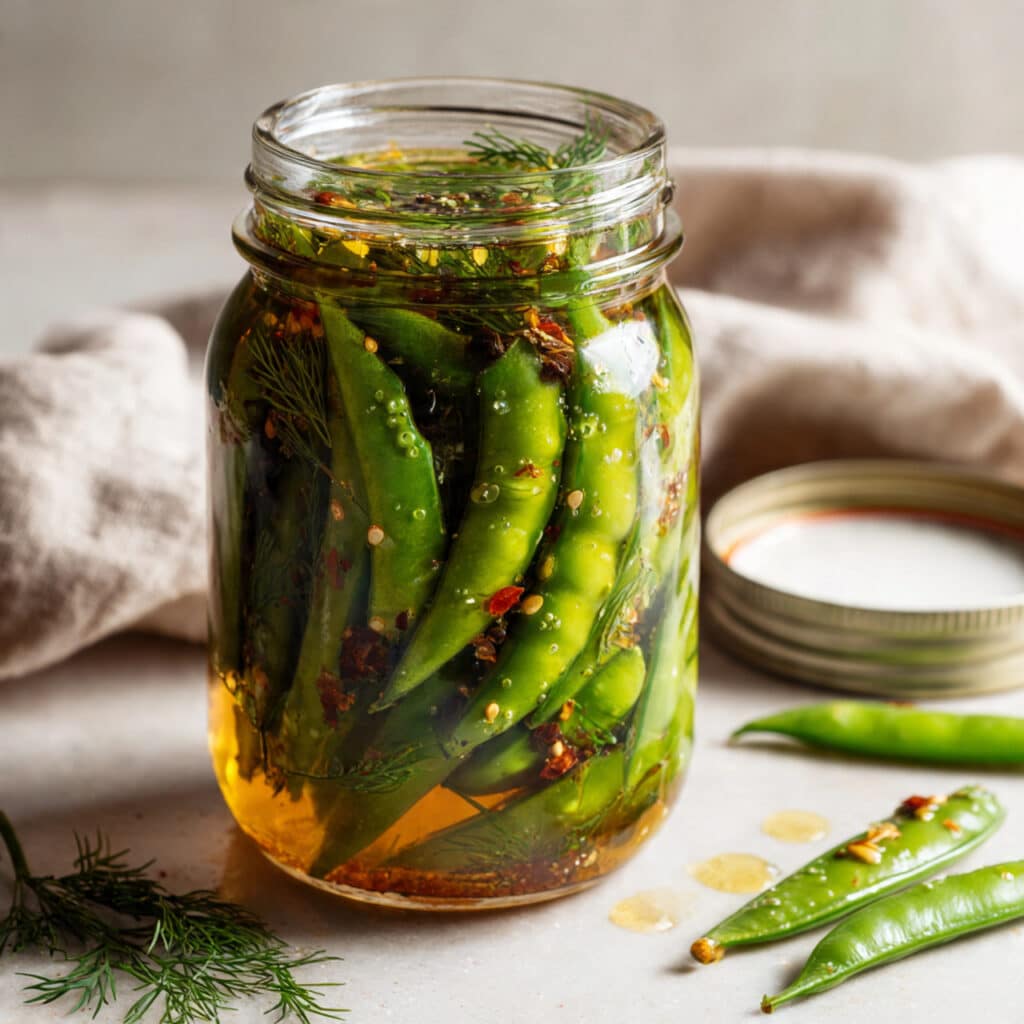
Step 2: Pack the Jar
Layer the snap peas in a clean quart jar along with dill sprigs, star anise, peppercorns, mustard seeds, and garlic cloves. Pack them snugly but don’t crush them.
Step 3: Make the Brine
In a small pot, combine 2 cups water, white vinegar, and salt. Heat over medium-high heat, stirring until salt dissolves completely. Remove from heat and stir in 2 cups cold water to cool the brine quickly.
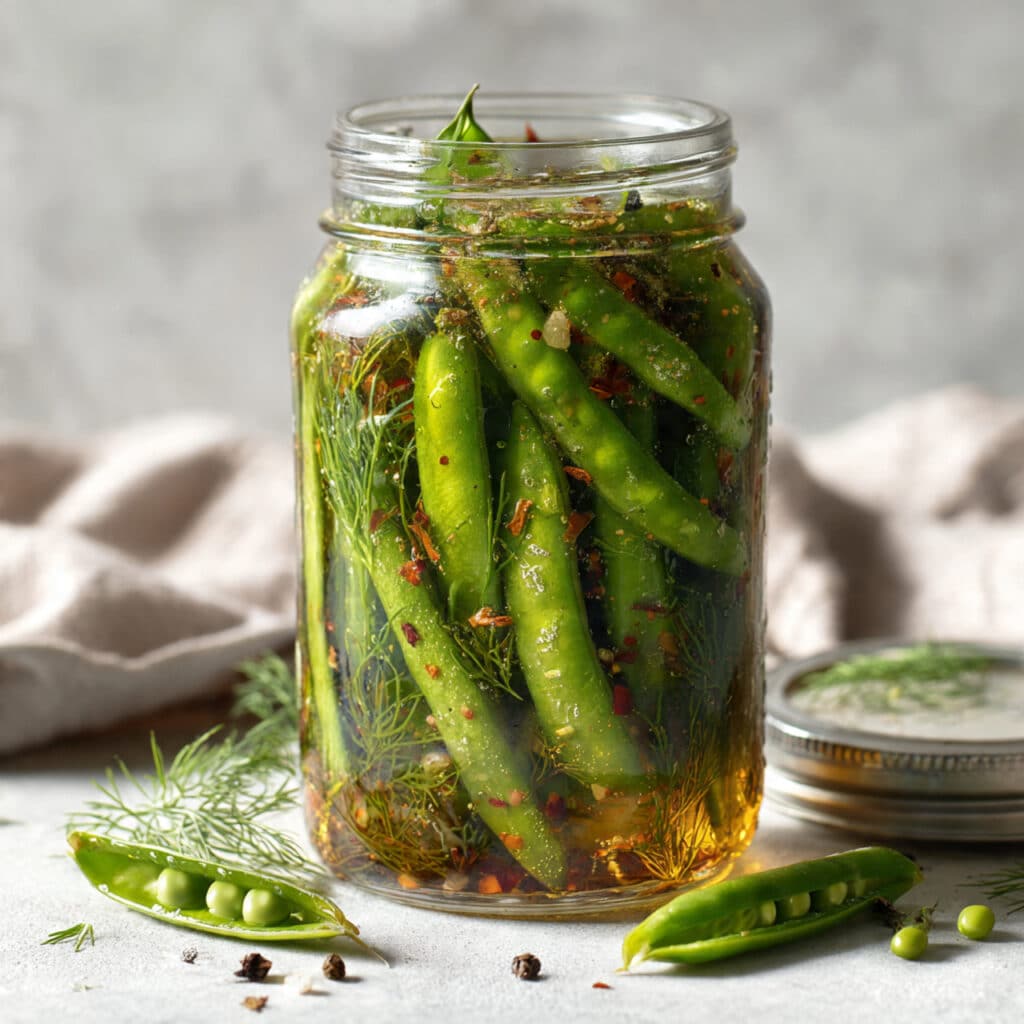
Step 4: Pour and Seal
Pour the brine over the snap peas, covering them completely. Leave about half an inch of headspace at the top. Seal the jar tightly with the lid.
Step 5: Refrigerate
Place the jar in the refrigerator and let it sit for at least 24 hours before eating. The flavor develops and intensifies over the first few days.
Pro Tips & Cooking Hacks
- Use room temperature jars to prevent cracking from hot brine
- Add the cold water to the brine to speed up cooling time
- Taste the brine before pouring it should be noticeably salty and tangy
- Shake the jar gently every day to redistribute the spices
- Keep snap peas submerged in brine for best preservation
Tips & Variations
Add a dried red chile or chile flakes for a spicy kick. Adjust the heat level to your preference by using more or less.
Experiment with other aromatics like fresh ginger slices, coriander seeds, or whole cloves. Each adds a unique flavor dimension to the pickles.
For sweeter pickles, add 1 to 2 tablespoons of sugar to the brine. This balances the acidity and creates a sweet-and-sour flavor profile.
Serving Suggestions
These pickled snap peas are fantastic on charcuterie boards alongside cured meats, cheeses, and crackers. They add a refreshing crunch that cuts through rich, fatty foods.
Chop them up and toss into salads, grain bowls, or tacos for a tangy pop of flavor. They work especially well in Asian-inspired dishes with sesame and soy.
Serve them straight from the jar as a healthy snack. They’re satisfying, low-calorie, and far more interesting than plain vegetables with hummus.
Common Mistakes
- Skipping the string removal leaves tough, chewy pickles
- Using old, limp snap peas results in mushy pickles
- Not dissolving the salt completely can make uneven seasoning
- Pouring hot brine directly into jars may crack the glass
- Opening the jar too soon prevents proper flavor development
What to Serve With Snap Pea Pickles
Pickled snap peas pair beautifully with sandwiches and burgers. Layer them on turkey clubs, banh mi, or veggie wraps for extra crunch and acidity.
They’re a natural fit for Asian-inspired meals. Serve alongside stir-fries, fried rice, or noodle bowls where their tanginess brightens rich, savory flavors.
Add them to your Bloody Mary bar for brunch gatherings. They make a unique, crunchy garnish that impresses guests and adds flavor to the cocktail.
Frequently Asked Questions
How long do snap pea pickles last in the fridge?
When stored properly in the refrigerator, these pickles keep for up to two months. Make sure the snap peas stay submerged in brine.
Can I reuse the pickling brine?
It’s best to use fresh brine each time for food safety and optimal flavor. The brine loses acidity and strength after the first batch.
Can I use frozen snap peas for this recipe?
Fresh snap peas work best for texture. Frozen peas become mushy when pickled because freezing breaks down their cell structure.
Do I need to sterilize the jars?
Since these are refrigerator pickles, you don’t need to sterilize the jars. Just make sure they’re very clean and completely dry before packing.
Can I pickle other vegetables with the snap peas?
Absolutely! Try adding sliced radishes, carrots, or cauliflower florets. Just make sure all vegetables are cut to similar sizes for even pickling.
💬 Tried this recipe? Leave a comment and rating below!